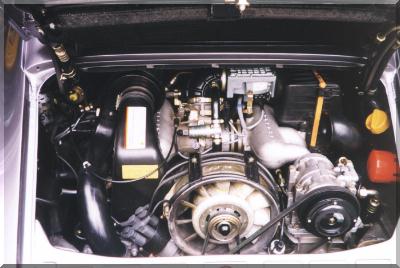
Picture taken before the work had begun. The intake
manifolds needed to
be removed so that the gaskets could be replaced. That
required the removal of everything on top (air box, air
flow sensor, etc) and the a/c unit.
Parts needed:
Tools needed:
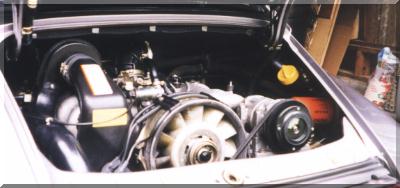
The air filter box and air flow meter box have been removed.
To do this,
first unclip the filter cover (four clips) and remove that.
Then unbolt the left half of the filter box and remove a
small hose that connects in the back (held on by a spring clip).
The air flow meter unbolts (loosen the hose clamp to the left holding
it to the throttle body).
Be sure to carefully remove the air flow meter connecting
wire from the front (and keep track of the retaining ring).
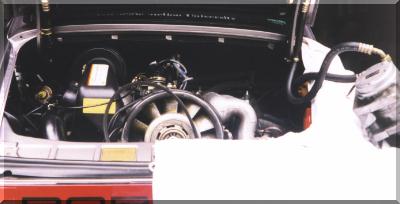
The air conditioning unit can be moved over the side fender
of the car with four mounting bolts removed. The two
hoses are fortunately long and flexible enough such that
complete disconnection is not required.
Just be sure to put plenty of cloths and pads under the unit
to protect the paint.
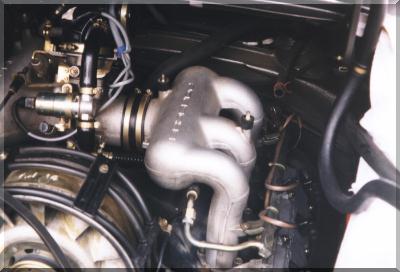
We can now see the right side air manifold. There is now plenty
of room in which to work to get at the six bolts that fasten the
manifold. The fuel injection lines can stay in place, bolted
to the manifold. The six bolts are 8mm hex recessed allen
bolts (found an appropriate socket at the local Sears).
You'll need that allen socket, a universal joint, and about
a 6 inch extension for your socket wrench.
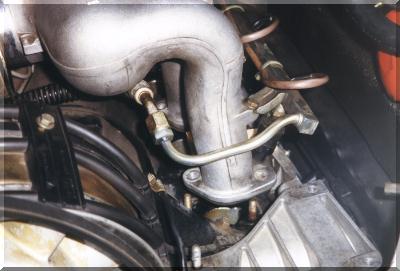
The six bolts have been removed, and the manifold has been
lifted only about two inches. On the left notice the fuel
line; it's flexible enough such that it does not need to
be disconnected. There are metal bars inbetween the
three intake tubes which can be used as supports. We
lifted the manifold a couple of inches, then stuck some
small wood blocks under those bars to hold it up. We
then continued to move it up, inch by inch, bracing it up
each step. You should be able to move it up a whole six
inches, which allows plenty of room for the gasket work.
When the manifold is up just a few inches, stuff some small rolled up shop rags into the intake openings so that nothing falls into the intake valve area.
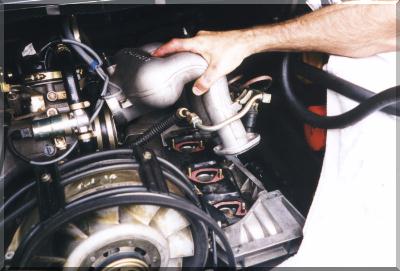
Here you can see how far you can indeed move the manifold.
Notice the new gaskets (pinkish hue). At each intake
port there are two gaskets sandwiching a large spacer
(approx. 1/4 inch thick). Most likely the top gasket will
stick to the manifold unit, and the bottom gasket and
spacer will remain below. All of my gaskets could be
gotten off by gently working an edge with a fingernail.
Once it was started, a screwdriver blade popped them
right off.
Click here for an exploded view.
Once the old gaskets and spacers are off, clean off the metal surfaces, put a new gasket, spacer, and gasket on the bottom. Be careful when wiping the surfaces not to touch the fuel injectors (on the bottoms of the manifold tubes). Then just slowly ease the manifold back down over the openings. Everything then goes back together in the reverse order of taking it off! The left bank will require the removal of the heater blower, but other than that it's about the same.